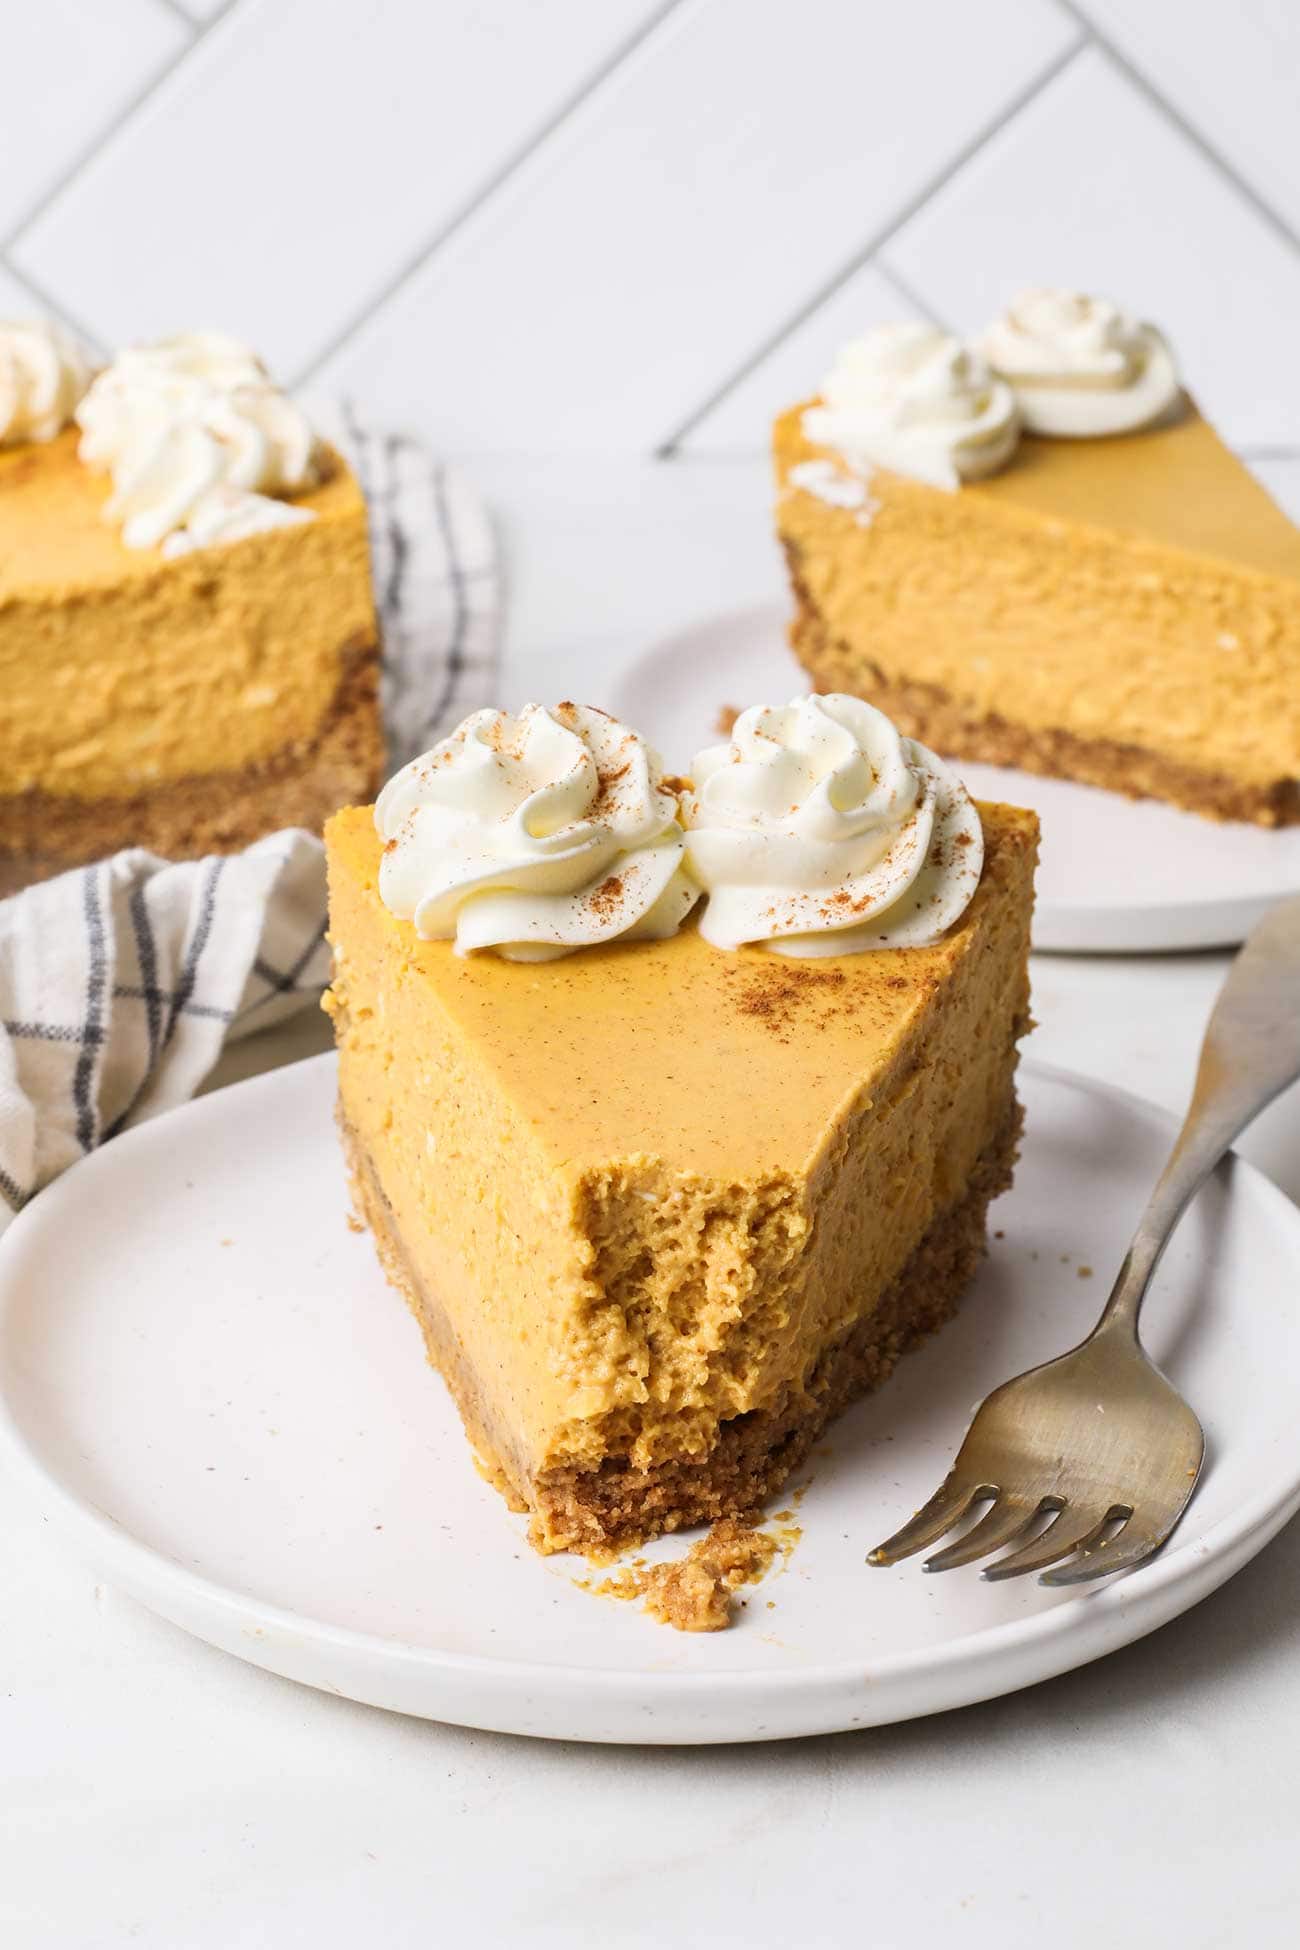
Thanksgiving dessert just got an upgrade! This dreamy Pumpkin Cheesecake has all the great pumpkin spice flavor, in a rich cheesecake base. The crust can be made classic or gluten free!
Contents
Dreamy, Classic Pumpkin Spice Cheesecake
It might not be Thanksgiving without a Pumpkin Pie – but what if that “pie” was actually a rich, dreamy cheesecake?
Honestly, serve this instead, and even pumpkin pie skeptics will be hooked. It has the same sweetly spiced pumpkin flavor, but with a rich cheesecake base, on a simple-to-assemble graham cracker crust.
We started making this a few Novembers ago, and there’s no turning back. It’s gotten better and better over the years (the PERFECT balance of sweet and spice!), so I decided it was time to share the recipe.
It’s a beautiful addition to any holiday spread, topped however you’d like!
Why This Works:
- No Cracks: This recipe comes out flawless – no cracks, thanks to the lower baking temperature and the steamy water bath technique.
- Make Ahead: As with most spiced recipes, this only gets better as it sits! Make this a day or two ahead of your dinner, or freeze this dessert for up to 2 months!
- Dietary Restrictions: We are a gluten free household, so we make this with gluten free graham crackers. We’ve even made it grain free! See notes below.
Add this creamy Pumpkin Cheesecake to your holiday menu – the whole family will thank you!
What You’ll Need
Kitchen Tools:
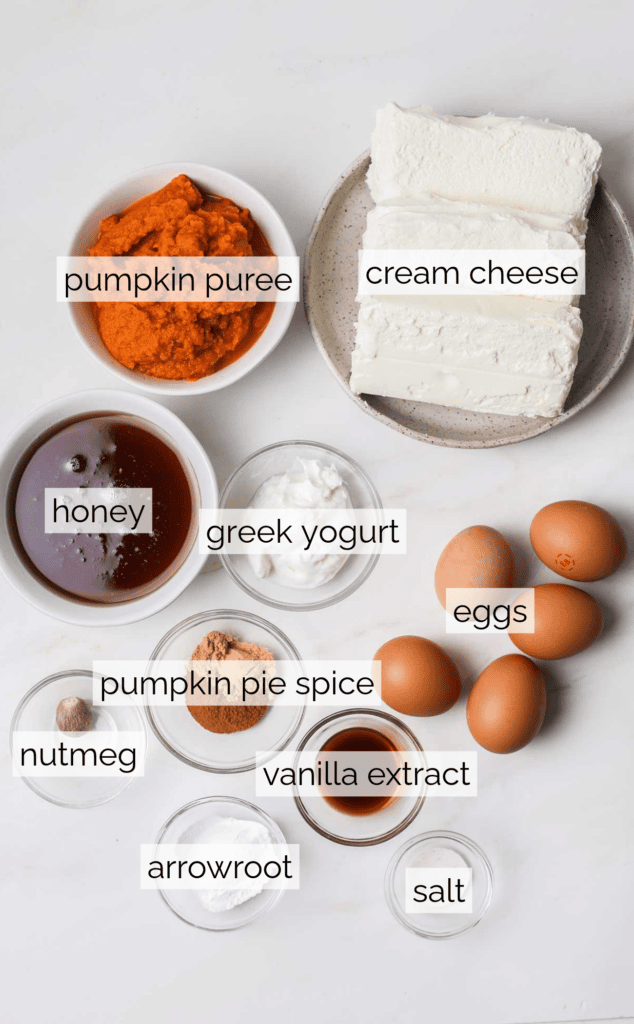
Pumpkin Cheesecake Filling
- Cream Cheese (full fat recommended)
- Pumpkin Puree (canned, or use this homemade Pumpkin Puree)
- Maple Syrup (or honey – this cheesecake filling is refined sugar free)
- Whole Eggs
- Greek Yogurt (or Sour Cream)
- Arrowroot (or sub all purpose flour or organic cornstarch)
- Vanilla Extract
- Pumpkin Pie Spice (or use a combination of cinnamon, ginger, and freshly ground nutmeg)
- Sea Salt
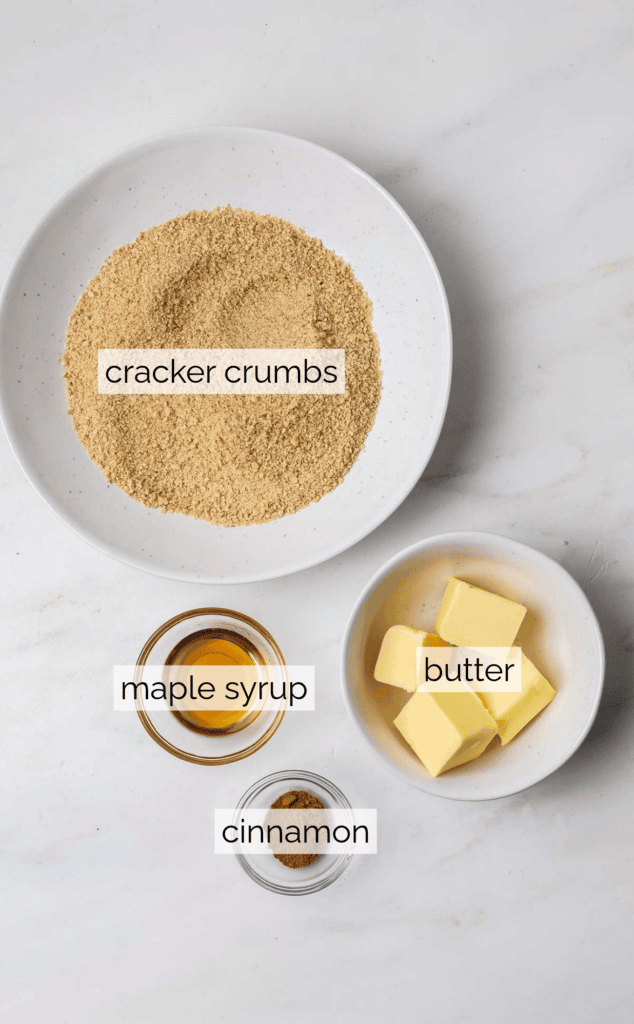
Graham Cracker Crust
- Graham Crackers (regular, gluten free, or grain-free options)
- Butter
- Maple Syrup
- Cinnamon
Water Bath Tips
A water bath (also known in French as a bain-Marie) is a technique used for delicate desserts like cheesecake, custards, and flans.
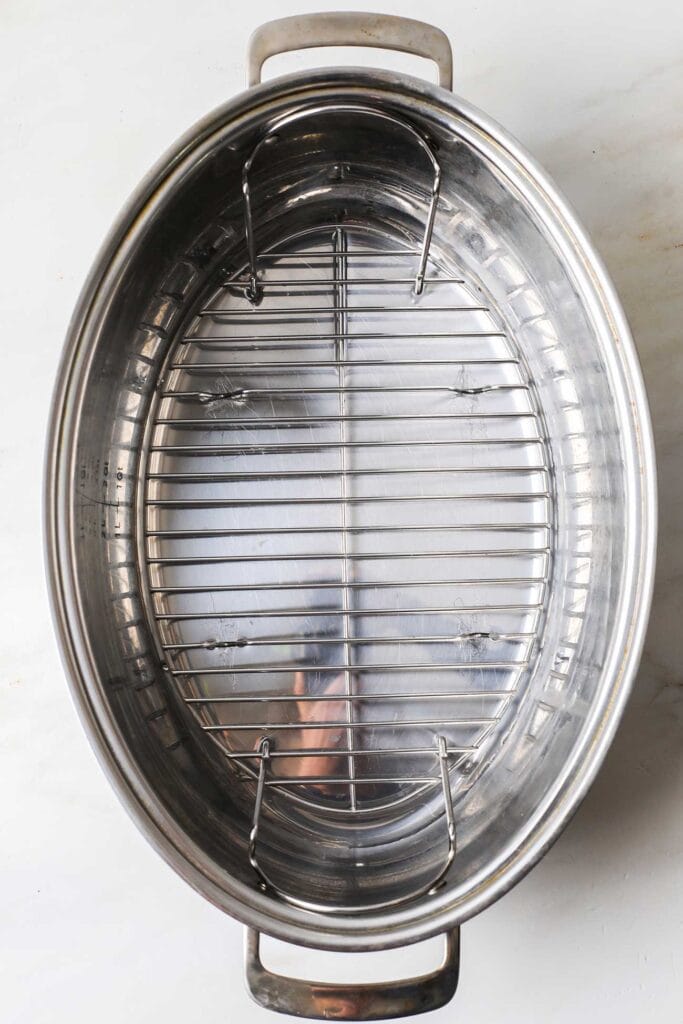
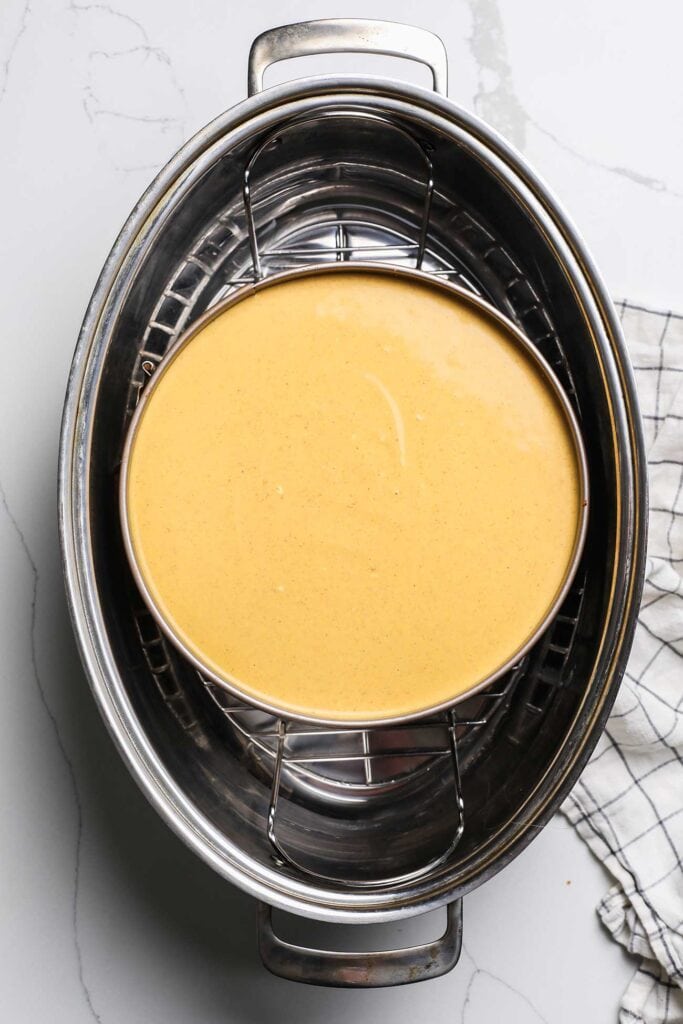
I use my roasting pan, which already has a rack and is the perfect size for a large springform pan.
Step 1: Add about 1 inch of water to the bottom of a large roaster. Add the rack in to prevent the water from seeping into the bottom of the cheesecake and making the crust soggy.
Step 2: Add the cheesecake onto the rack in the roasting pan, ensuring the bottom of the cheesecake pan is not closer than about 1/2 inch from the top of the water.
How to Make Pumpkin Cheesecake
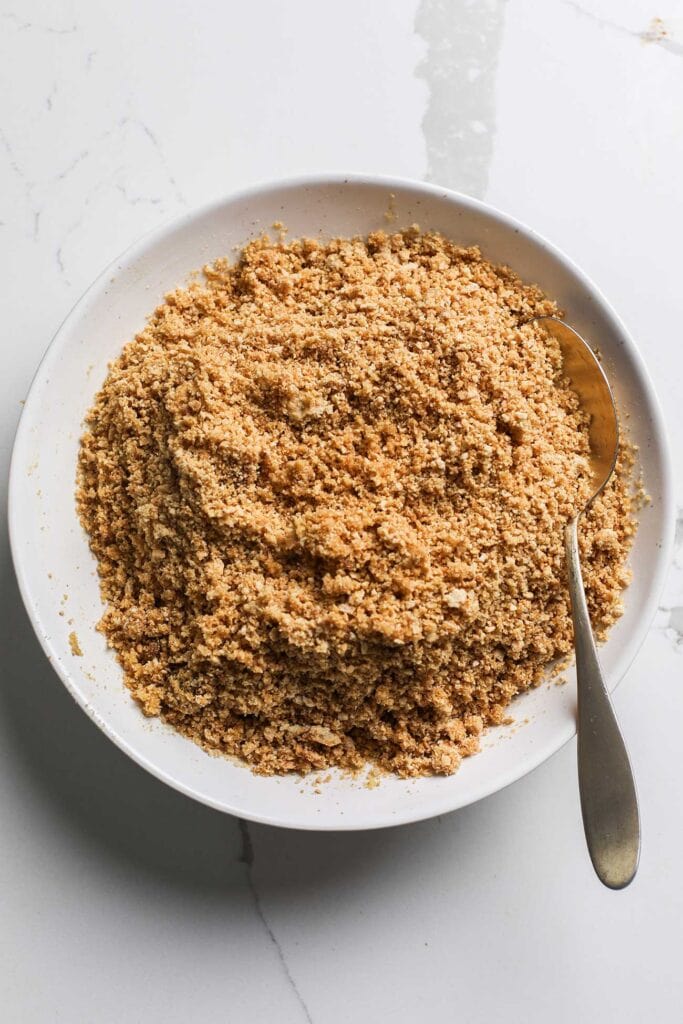
Step 1: Preheat oven to 350º F. Combine graham cracker crumbs, melted butter, honey (or maple syrup), and cinnamon a medium sized mixing bowl. Stir to combine until the mixture looks crumbly.
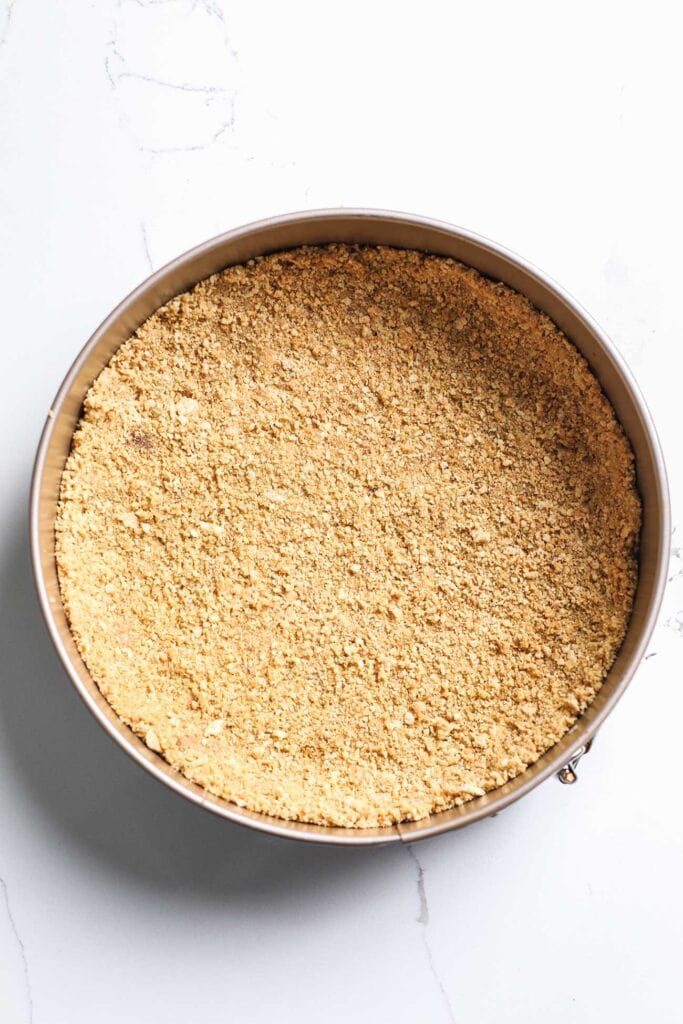
Step 2: Using a 9-inch springform pan, press the graham cracker mixture into the base, pressing up about 1 inch around the sides. I wet hands to press it down, and then the base of a water glass to pack it firmly. Bake the crust for 10 minutes, and then set aside to cool.
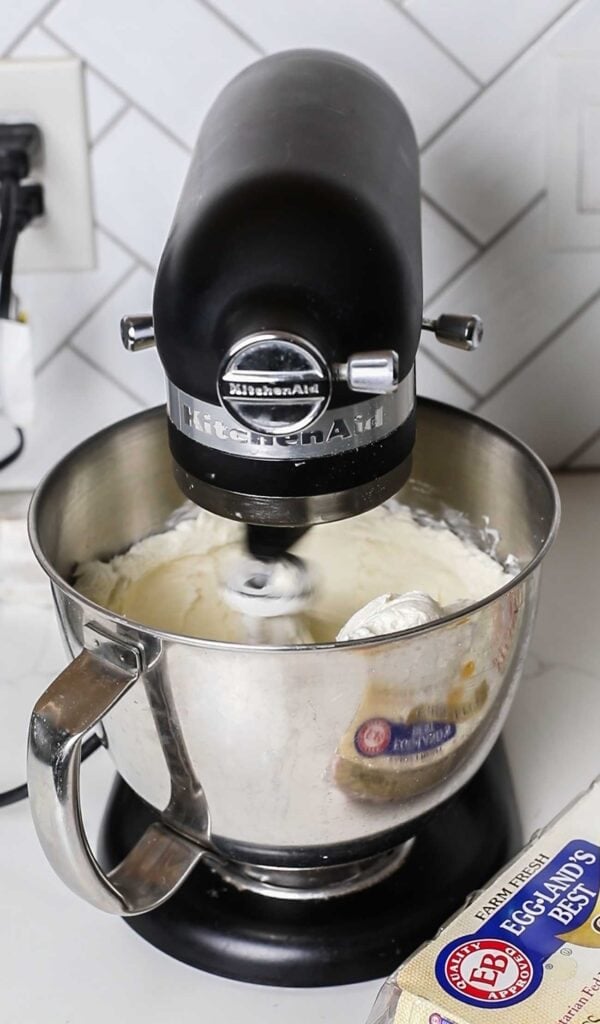
Step 3: Prepare the cheesecake filling by first softening the cream cheese. Add room temperature cream cheese to a stand mixer with a paddle attachment (or food processor) and whip on medium speed for 1-2 minutes, scraping the sides with a rubber spatula as necessary, until smooth and creamy. (Alternately, use a large bowl and a hand mixer).
Step 4: Adding one ingredient at a time, then fully mixing each one into the cream cheese, start with adding the pumpkin puree, then the maple syrup (or honey), the spices, vanilla, and sea salt.
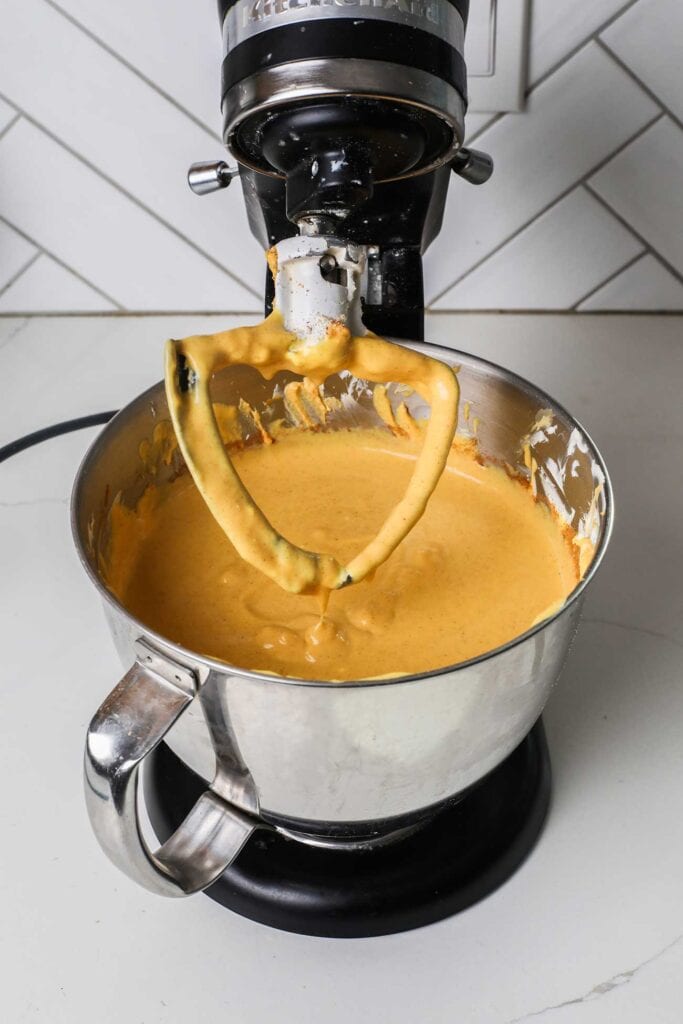
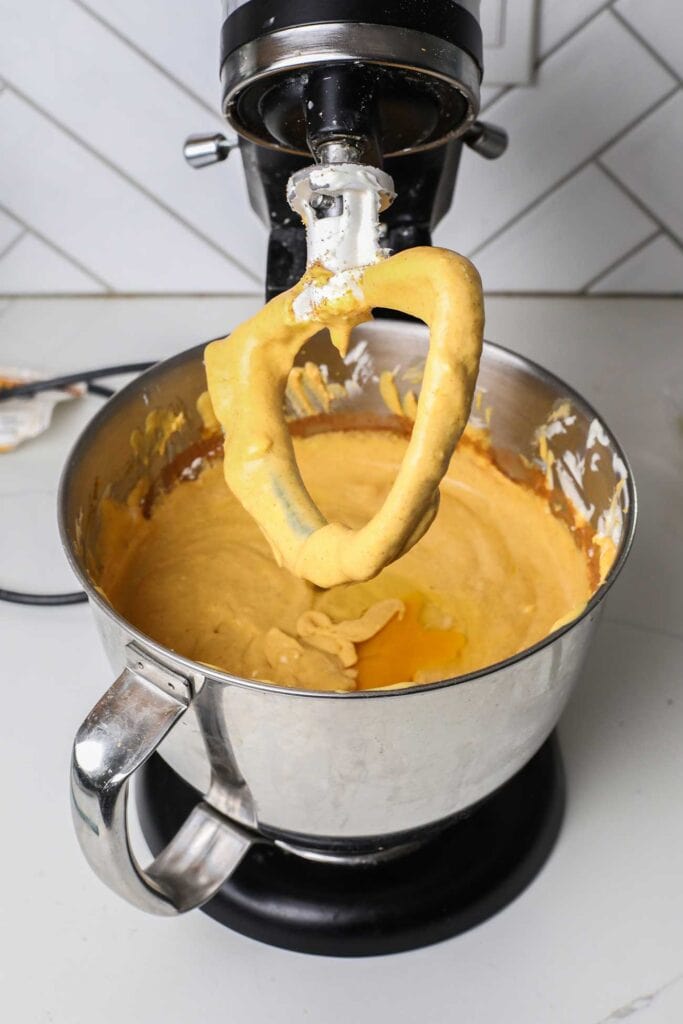
Step 5: Add the eggs, 1 at a time, mixing in between on low speed until fully incorporated into the mixture. (Be careful not to over mix and add too much air to the mixture)
Step 6: Pour the cheesecake batter into the springform pan on top of the cooled graham cracker crust. Smooth the top into an even layer.
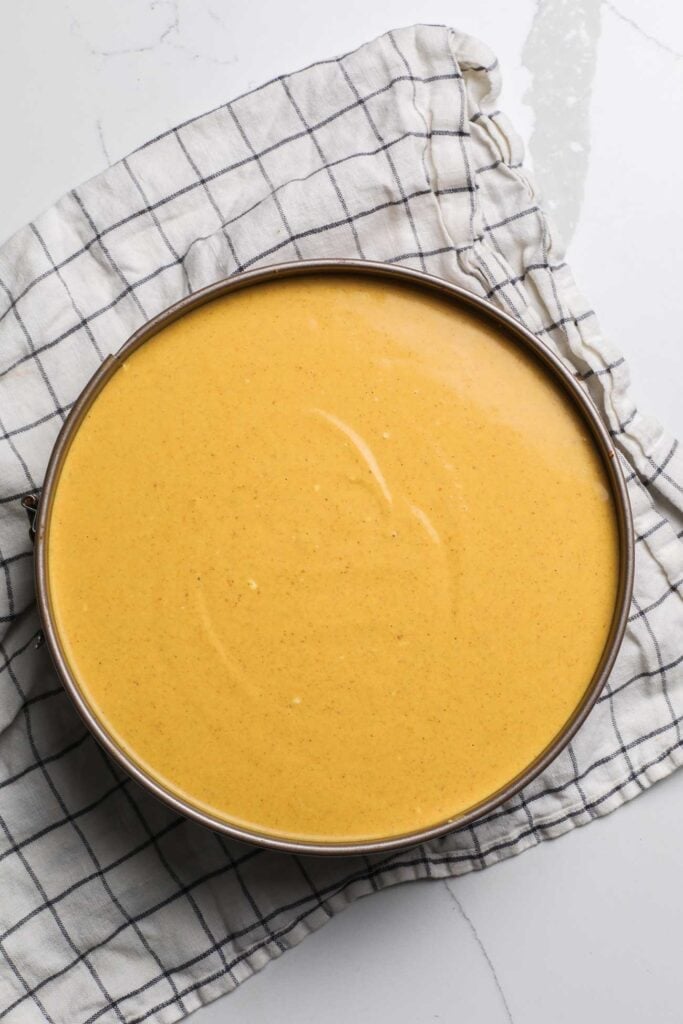
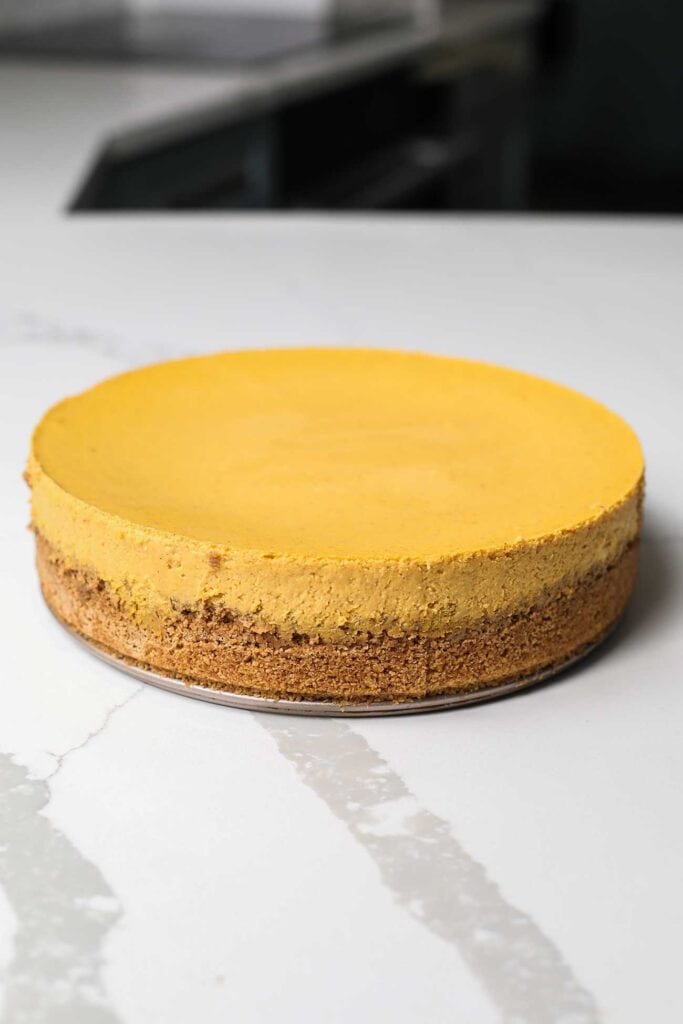
Step 7: Reduce the oven temperature to 325º F. Add the cheesecake into the prepared water bath, and add to the preheated oven. Bake for 55-70 minutes, until the sides have begun to separate from the pan and the center is still slightly wobbly. Turn the oven off, crack the oven door, and allow the cheesecake to slowly cool inside the oven for at least 1 hour. *This slow cooling process helps prevent cracking.
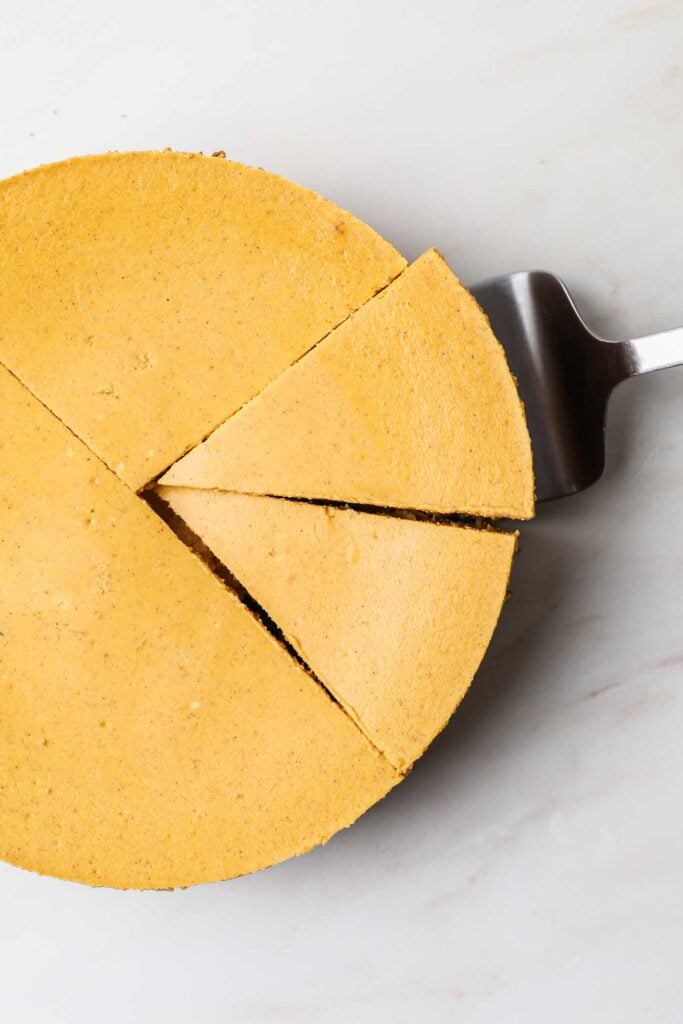
Step 8: Once the cheesecake has cooled to room temperature, loosen the cheesecake from the sides of the pan with a butter knife, and remove the outer ring. Cover the pumpkin cheesecake with plastic wrap, and refrigerate for at least 2 hours, up to overnight, prior to slicing and serving.
How to Store Leftover Cheesecake
Once the cheesecake has fully cooled, remove the outer ring of the springform pan, and wrap the cheesecake with plastic wrap or aluminum foil. Refrigerate the cheesecake for up to 7 days.
Individual slices can be stored in an airtight container and refrigerated.
To Freeze: This cheesecake can be made months in advance! It’s a great time saver for busy holiday weeks. Once the cheesecake has fully cooled, remove the outside ring of the springform pan. Wrap the cheesecake tightly in plastic wrap, using 3-4 layers around all sides of the cheesecake, to make an airtight cover. Freeze the cheesecake for up to 2 months. To serve: Allow the cheesecake to slowly thaw in the refrigerator overnight.
How to Serve Pumpkin Cheesecake
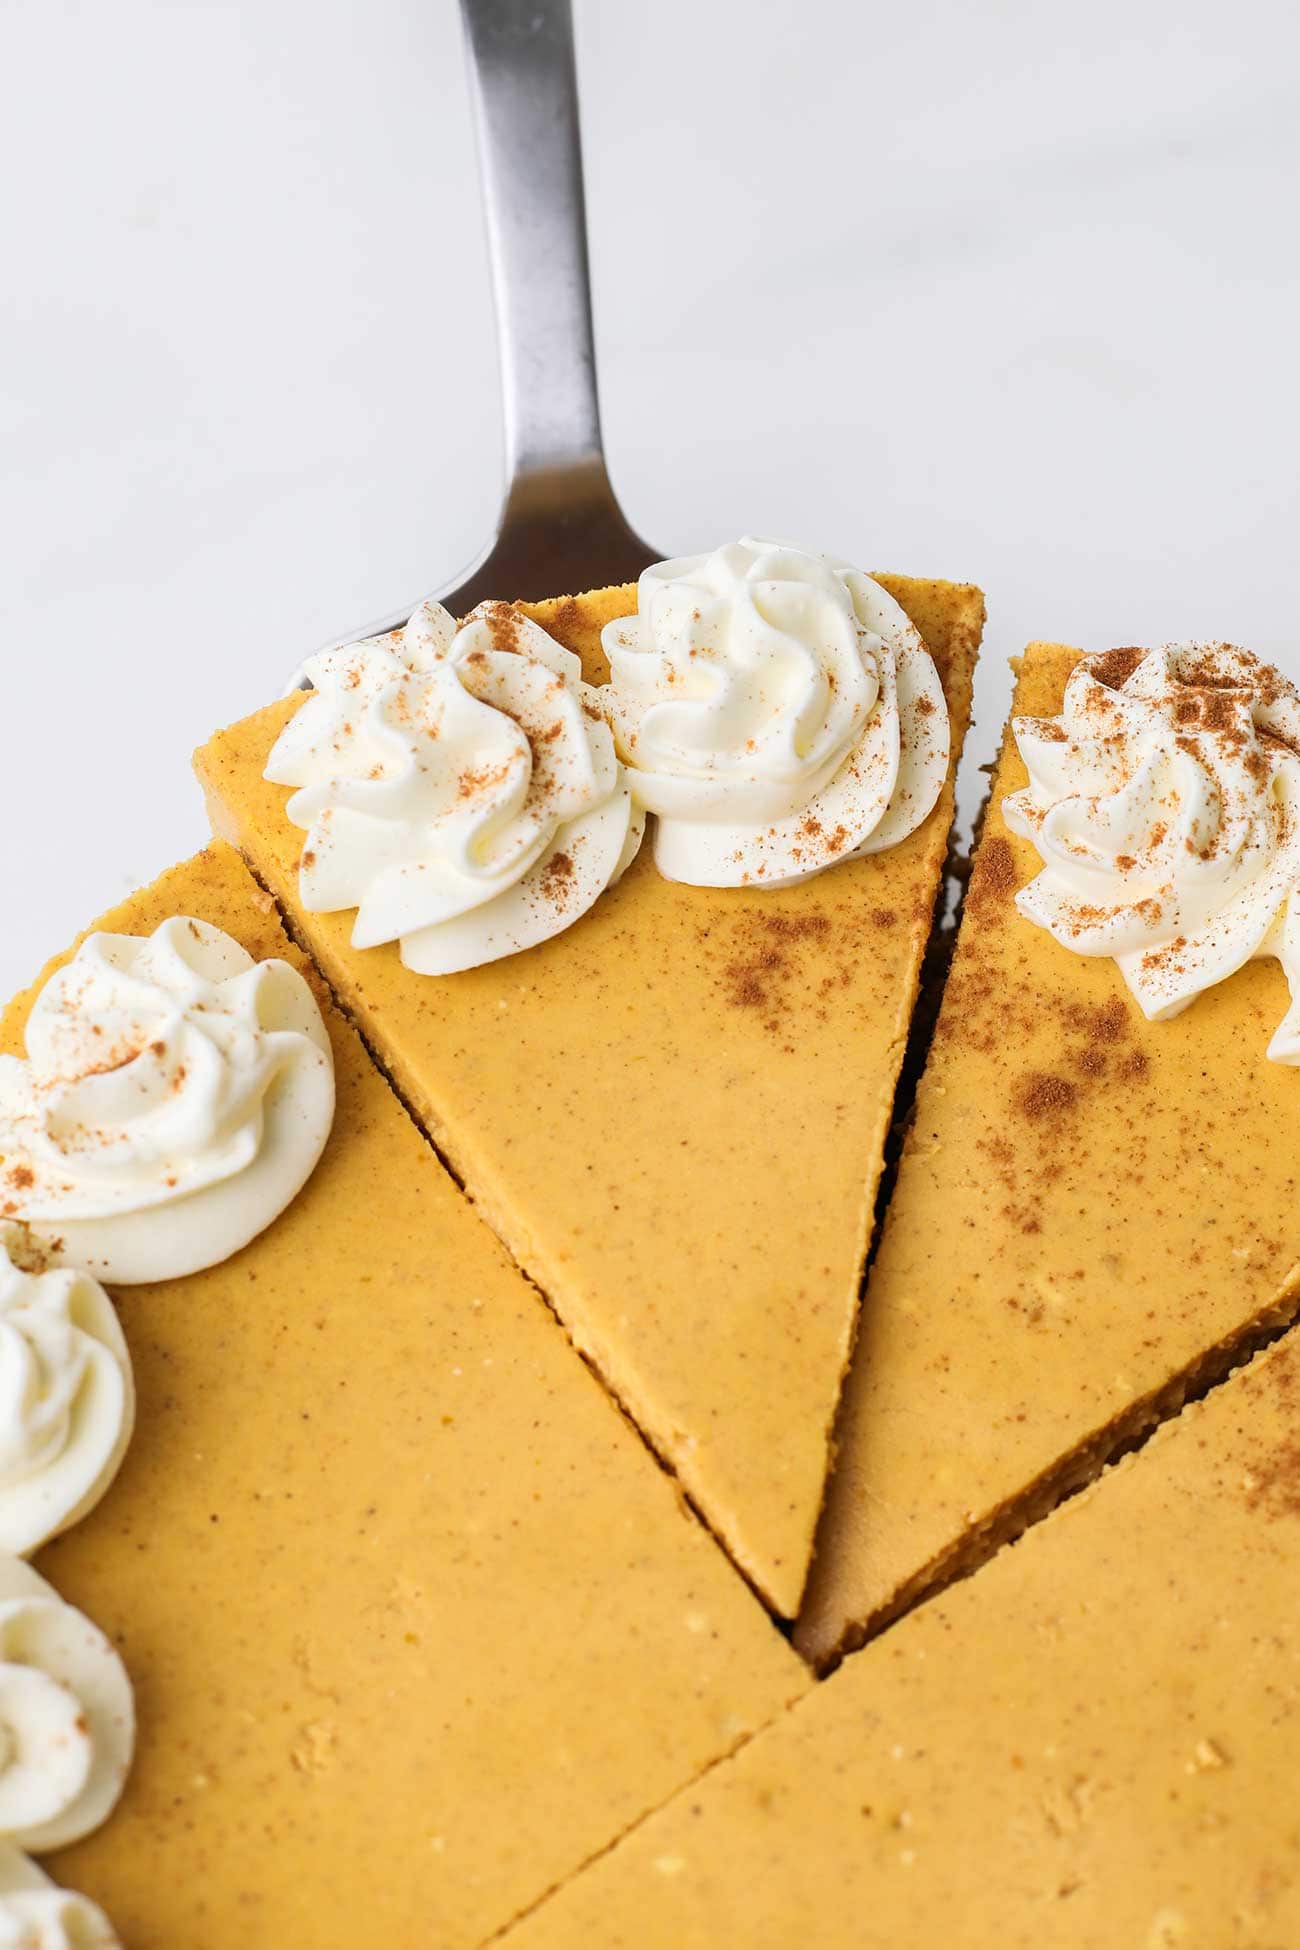
Pipe the Cheesecake with Whipped Cream: Decorate the chilled cheesecake with whipped cream piped on in a decorative design. (Save time by simple serving a dollop of whipped cream with each slice!). We also like to sprinkle cinnamon over the top for a beautiful look.
Topping Suggestions:
- Pecans or Candied Pecans (these crunchy bites are a great contrast to the creamy filling).
- Pomegranate Arils (beautiful over whipped cream!)
- Caramel Sauce (try this homemade dairy free caramel sauce!)
Tips & Variations
Gluten Free or Grain Free Cheesecake
The cheesecake filling as written is gluten and grain free.
Gluten Free Graham Cracker Crust: Substitute your favorite gluten free graham crackers. We love Nairn’s Gluten Free Oat Cookies.
Grain-Free Graham Cracker Crust: I often make this crust with Simple Mills Cinnamon Sweet Thins (tip: save money by buying these at Costco!).
Gingersnap Cookies Crust: Use these homemade gluten free Ginger Sugar Cookies as the base! Bake these cookies an additional 2-3 minutes, and then allow them to cool in the oven, so they become crunchy. Then process them in a food processor similar to the graham crackers to make the crumbly mixture.
How to Prevent Cheesecake from Cracking
Reduce Bubbles: Avoid over mixing the cheesecake filling, which adds air to the cheesecake, making it less dense and more susceptible to cracking.
Use a Water Bath: A water bath adds steam to the oven, keeping the cheesecake moist as it bakes. You don’t need to buy anything fancy for this! I use my roasting pan with a rack.
Bake at a Cooler Temperature: Baking a cheesecake at 325º F takes a little longer, but the end result is creamier with a smoother appearance.
Cool the Cheesecake Slowly: Leave the cheesecake in the oven after baking! Allow heat to escape the oven by cracking it, but leave the cheesecake in the oven for 1 hour, or until the oven and the cheesecake are both back at room temperature.
Remove the Springform Pan Edge Prior to Refrigerating: Use a butter knife to separate the cheesecake from the outer edge of the springform pan, and remove the ring prior to refrigerating the cheesecake. This removes tension as the cheesecake chills.
How to Cut Beautiful Slices
Cheesecake has a soft, custard-like texture. The secret to cutting the perfect slices is simple to achieve!
- Run a large knife under hot water. The heat slightly melts the cheesecake to give it a smooth edge.
- Wash knife under hot water between each slice. Remove any cheesecake from the knife and heat it back up after making 1 cut. Starting with a hot, clean knife makes the next cut go just as smoothly!
Other Cheesecake Recipes
I’d love to connect with you on social media! Find me on Facebook or Instagram where I post daily healthy eating and lifestyle inspiration!
Pumpkin Cheesecake
Equipment
- Stand Mixer *a hand mixer can be used but is more difficult to work with!
Ingredients
Graham Cracker Crust
- 250 grams graham crackers processed into crumbs
- 6 tablespoons butter melted
- 1 tablespoon maple syrup or honey
- 1/2 teaspoon cinnamon
Pumpkin Cheesecake
- 24 ounces cream cheese (3 packages)
- 15 ounces pumpkin puree (not pumpkin pie filing)
- 1 cup maple syrup or honey
- 4 eggs
- 1/4 cup Greek yogurt
- 1 tablespoon arrowroot or organic corn starch
- 1 tablespoon pumpkin pie spice (or 2 teaspoons cinnamon, 1 teaspoon ground ginger, and lots of freshly grated nutmeg)
- 1 tablespoon real vanilla extract
- 1/4 teaspoon sea salt
Instructions
Graham Cracker Crust
- Preheat oven to 350º F. Combine graham cracker crumbs, melted butter, honey (or maple syrup), and cinnamon a medium sized mixing bowl. Stir to combine until the mixture looks crumbly.
- Using a 9-inch springform pan, press the graham cracker mixture into the base, pressing up about 1 inch around the sides. I wet hands to press it down, and then the base of a water glass to pack it firmly. Bake the crust for 10 minutes, and then set aside to cool.
Cheesecake
- Prepare the cheesecake filling by first softening the cream cheese. Add room temperature cream cheese to a stand mixer (or food processor) and whip for 1-2 minutes, scraping the sides as necessary, until smooth and creamy.
- Adding one ingredient at a time, then fully mixing each one into the cream cheese, start with adding the pumpkin puree, then the maple syrup (or honey), the spices, arrowroot, vanilla, and sea salt.
- Add the eggs, 1 at a time, mixing in between until fully incorporated into the mixture.
- Pour the cheesecake filling into the springform pan on top of the cooled graham cracker crust. Smooth the top into an even layer.
- Reduce the oven temperature to 325º F. Add the cheesecake into the prepared water bath, and add to the preheated oven. Bake for 55-70 minutes, until the sides have begun to separate from the pan and the center is still slightly wobbly. Turn the oven off, crack the door, and allow the cheesecake to slowly cool inside the oven for at least 1 hour. *This slow cooling process helps prevent cracking.
- Once the cheesecake has cooled to room temperature, remove the outer ring of the pan. Cover the cheesecake with plastic wrap, and refrigerate for at least 2 hours, up to overnight, prior to slicing and serving.
Notes
How to Store Leftover Cheesecake
Once the cheesecake has fully cooled, remove the outer ring of the springform pan, and wrap the cheesecake with plastic wrap. Refrigerate the cheesecake for up to 7 days. To Freeze: This cheesecake can be made months in advance! It’s a great time saver for busy holiday weeks. Once the cheesecake has fully cooled, remove the outside ring of the springform pan. Wrap the cheesecake tightly in plastic wrap, using 3-4 layers around all sides of the cheesecake, to make an airtight cover. Freeze the cheesecake for up to 2 months. To serve: Allow the cheesecake to slowly thaw in the refrigerator overnight.How to Serve Pumpkin Cheesecake
Pipe the Cheesecake with Whipped Cream: Decorate the chilled cheesecake with whipped cream piped on in a decorative design. (Save time by simple serving a dollop of whipped cream with each slice!). We also like to sprinkle cinnamon over the top for a beautiful look. Topping Suggestions:- Pecans or Candied Pecans
- Pomegranate Arils (beautiful over whipped cream!)
- Caramel Sauce (try this homemade dairy free caramel sauce!)
Leave a Reply